
A Bathroom Remodel That Uncovered More: Kristi's Full Renovation in Clarksville, IN
Pat McIntyre • April 10, 2026
Modern Bathroom Remodel & Repairs
What started as a bathroom remodel turned into something more — and that's not always a bad thing. Kristi's bathroom in Clarksville had already been updated, but after the work was complete, some plumbing concerns surfaced that pointed to deeper issues in the home. Rather than patch over them, Kristi called Home Run Improvement back to take a proper look. What we found underneath made it clear that the right move was to address everything the right way, from the ground up.
Getting to the Root of It
Once we opened things up, the picture came into focus. The floor joists had sustained water damage over time, the window was allowing moisture intrusion during showers, and the existing cast iron drain system in the crawl space had reached the end of its useful life. None of this was the result of any single decision — older homes carry older infrastructure, and these things have a way of staying hidden until you go looking. We went looking.
Full demo meant pulling out the wall finishes, drywall, tile, and backer board, and opening up the framing to properly access the plumbing. The 4" horizontal cast iron waste lines were removed from the crawl space entirely and disposed of responsibly. From there, we started fresh.
Rebuilding It Right
New PVC drain and waste lines replaced everything that came out — a new 4" waste line plus properly sloped and supported branch lines serving the toilet, sink, and tub, all tied back into the existing sewer system and inspected before we closed anything up.
With the plumbing handled, we rebuilt the bathroom from the studs out. Moisture-resistant greenboard drywall and Hardie Backer cement board went up on the walls, a full waterproofing system went in before any finished surfaces, and the leaking window was replaced with a glass block unit that solved the water intrusion problem for good. New tile, fixtures, cabinetry, and accessories finished the space out, and we left it broom-clean.
The Result
The bathroom came out clean, modern, and built to last — with the added peace of mind that what's behind the walls is just as solid as what you can see. The underlying issues that had gone undetected are now fully resolved, and the home is in significantly better shape because of it.
Kristi was pleased enough with how everything came together that she's already moving forward with a second project: adding a new bathroom and a dedicated laundry room on the first floor. Sometimes a project that expands in scope ends up being exactly what a home needed.
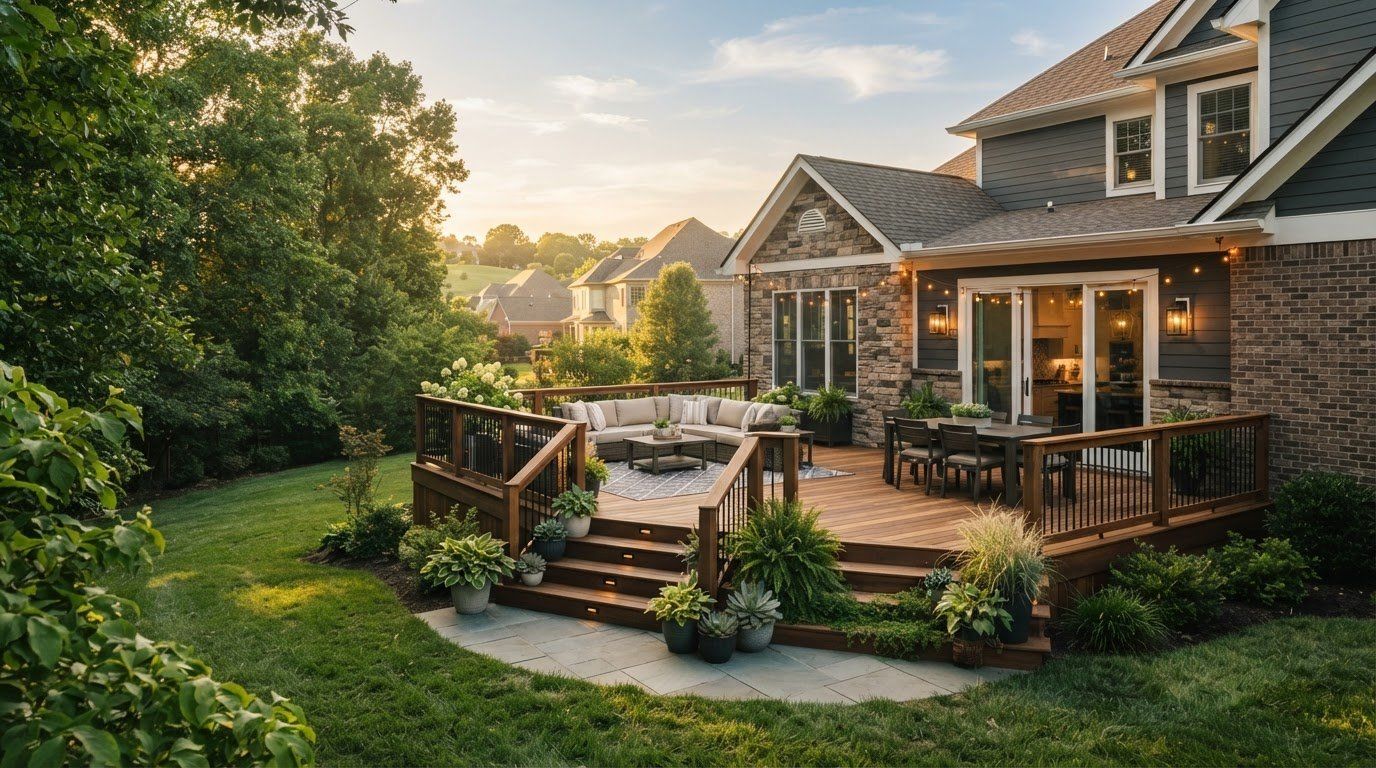
Does a new deck add value to a home in KY? It can, but resale appeal depends on more than the project itself. A deck that suits the house, makes practical use of the yard, and is thoughtfully built is more likely to feel like a meaningful upgrade than one that’s oversized, awkwardly placed, or showing signs of poor workmanship. It’s reasonable to want a clear return before investing, especially because material choices and project scope affect the total cost. But a deck’s value isn’t limited to resale: it can also create usable outdoor space and make a home more enjoyable while you live there. This article explains what can shape a new deck’s appeal to Kentucky buyers, how to weigh financial and lifestyle value, and what to consider before building. You’ll also find questions to ask a contractor about design, materials, scope, and construction quality, so you can decide whether a deck fits your home, yard, and local market. Key Takeaways A new deck can improve usability and buyer appeal, but resale value isn’t guaranteed. Consider everyday enjoyment and how the home presents alongside potential resale contribution. To judge whether does a new deck add value to a home in KY, compare the proposed deck with your home’s layout, yard, and nearby properties. Compare materials by appearance, care needs, durability, and what matters most to your household. Confirm details for the products being proposed. Set your goals before choosing a design, then use comparable homes and local insight to put resale expectations in context. Ask a Louisville-area contractor how the proposed scope, materials, and workmanship suit your property, and review relevant completed projects. Does a New Deck Add Value to a Home in Kentucky? Understand the Types of Value Yes, a new deck can improve a home’s usability and appeal to buyers, but it won’t guarantee a higher sale price or full recoupment. The answer to “does a new deck add value to a home in KY” depends on how well the deck fits the property, its condition and design, and what local buyers are looking for. A deck may add everyday enjoyment and create a more inviting presentation, even if the eventual sale price doesn’t reflect the full project cost. Keep four outcomes distinct: a deck’s estimated contribution to resale value, the interest it may generate among buyers, the enjoyment it provides while you live there, and the way it presents the home and yard. These outcomes can influence one another, but they aren’t interchangeable. A comfortable outdoor space may make a listing more compelling without guaranteeing a specific appraised value. For a general overview of a deck’s purpose and common forms, see Deck . To explore the resale question, watch this video: https://www.youtube.com/watch?v=_i-1CY2ks-0 What does “adding value” mean when you sell a home? An appraisal is a professional opinion of a property’s value. Buyer perception is how prospective purchasers respond to its condition, features, and fit for their needs. The final sale price is what a buyer agrees to pay under current market conditions. A well-planned deck may improve marketability by making outdoor space more functional, but that doesn’t mean its cost will be added dollar for dollar to the home’s value. Instead of relying on a national average or one return estimate, compare similar nearby homes and recent local sales. Look for properties with comparable layouts, yards, and outdoor features. These comparisons offer useful context, but they can’t promise a particular result for your home. Why can the answer vary across Kentucky homes? Kentucky isn’t one uniform market. Location, home type, yard usability, deck condition, and competing listings can all affect whether a deck feels like an advantage. One that connects naturally to the home and makes a difficult-to-use yard more functional may appeal differently from a deck that overwhelms a smaller property or needs visible repairs. Observations from Louisville may not reflect buyer expectations in another Kentucky community or Southern Indiana. Ask a local real estate professional to interpret comparable sales and current competition in your area. That perspective can help you weigh potential buyer interest without treating resale as guaranteed. It also gives you a sounder basis for deciding how much the deck’s everyday usefulness matters to your household. Which Kentucky Home and Yard Factors Shape a Deck’s Value? A deck’s contribution depends partly on how well it works with the property around it. If it’s easy to reach, proportionate to the house, and leaves room to use the rest of the yard, it can feel like a natural extension of the home. If it blocks a useful route or takes up most of a small yard, the same addition may be less practical. To assess whether does a new deck add value to a home in KY, start with the site, not a standard design or assumed buyer preference. Does the deck fit the home and available yard? Consider where people will enter the deck, how they’ll move between it and the house, and whether nearby doors and windows provide convenient access. Think through likely activities, such as dining, relaxing, or gathering, and plan enough usable area for those purposes without crowding the yard. The deck should complement the home’s scale and exterior, not dominate them. Walk the yard before settling on a layout. Check how the proposed footprint affects paths, planting areas, privacy, and access to other outdoor spaces. Marking the rough footprint on the ground can help you picture how much yard remains and whether the route between the home and deck feels practical. A design that preserves circulation may serve the household better than simply maximizing deck size. Property-fit checklist: Connection: Does the deck offer convenient access from the rooms and doors people use? Proportion: Does its size suit the home’s scale and leave enough usable yard? Function: Is there practical space for the activities you expect to use it for? Privacy and views: Does the layout support comfortable use without creating unwanted sightline issues? Condition and upkeep: Will the chosen design and materials be manageable for your household, and will the finished work look cohesive with the home? How should Louisville-area homeowners assess local buyer appeal? Don’t assume every buyer wants the same outdoor feature. Review current listings and recent sales in your neighborhood and price range. Note how similar homes use their yards, whether decks are present, and how outdoor areas are shown. These are clues to investigate, not proof of a resale premium. Ask a local real estate professional which outdoor features seem relevant to nearby buyers and how comparable properties differ. The 2023 Remodeling Impact Report: Outdoor Features offers broader context on outdoor projects, but local comparisons are more useful for understanding your specific market. Don’t apply observations from Louisville automatically to other communities. If you’d like help evaluating how a deck could fit your property, you can discuss your deck project with a Louisville-area contractor. Deck Materials, Design, and Workmanship: What Matters for Long-Term Appeal? Material, layout, and construction quality shape how a deck looks, functions, and feels to maintain. These choices also affect buyer confidence: a finished space that suits the home and appears thoughtfully built is easier to appreciate than one with awkward proportions or unclear care needs. There’s no universally best material. The right choice depends on your priorities, intended use, and the specific products and installation details in the proposal. How should homeowners compare decking material options? Start with broad categories, then ask for details about the actual products being proposed. Natural wood, composite, and PVC can differ in appearance and care requirements, so consider how their specific characteristics fit your household. Ask for product care instructions and confirm product claims with the contractor rather than relying on assumptions about an entire category. Material categoryWhat to considerWoodWhether you prefer its natural appearance and are prepared to follow the specified care routine.CompositeHow its look, maintenance guidance, and confirmed product details match your priorities.PVCWhether the proposed product’s appearance, care instructions, and project scope suit your needs. Compare the full project scope, not just the visible decking surface. Ask what materials and related work are included, how the finished design will connect to the home, and what care the selected product requires. The 2024 Cost vs. Value Report offers a broad remodeling benchmark, but it can’t determine which material or design is right for your property or predict a specific resale result. Why do design and construction quality affect buyer confidence? Good design makes the deck feel intentional. Consistent proportions, practical transitions, clear access, and details that coordinate with the home help create a space people can picture using. Structural planning matters too. If the scope or construction details are vague, it’s harder to understand what the work involves or what future care may require. A polished surface is no substitute for sound planning and workmanship. Before approving a project, ask for written details about the design, materials, structural work, installation scope, and workmanship expectations. Confirm which product claims apply to the specific materials proposed, along with any applicable project warranty. Those answers help you compare proposals on more than appearance and assess whether the plan fits your goals. If you’re exploring professional options, review Home Run Improvement’s Louisville decking services . When considering whether does a new deck add value to a home in KY, prioritize a design that fits the property and workmanship that supports a complete, usable result. How to Decide Whether a New Deck Makes Sense for Your Kentucky Home Start with what you want the deck to do, not a resale figure. If you’ll use it regularly and the layout fits your home and yard, the project may make sense even if its eventual resale contribution is uncertain. If your main goal is resale, treat that as one factor to investigate, not a guaranteed return. The answer to “does a new deck add value to a home in KY” depends on your property, project scope, and local market. What questions should you answer before requesting an estimate? Identify who will use the deck and what they’ll do there. Consider access from the home, the connection to existing outdoor space, and how much usable area you need. Then rank priorities such as appearance, maintenance, materials, and flexibility. Before meeting with a contractor, gather photos, rough measurements, and questions about site conditions. This preparation helps clarify what should be included in the proposed scope. Use this short checklist to separate essential needs from optional additions: Must-haves: A layout that supports your intended activities, practical access, a suitable footprint, and clearly specified materials and work. Optional upgrades: Design details or added features that would be welcome but aren’t necessary for the deck to serve its main purpose. Market check: Compare similar homes in your neighborhood and price range, then ask a qualified local real estate professional how current listings and recent sales inform your expectations. A broad benchmark, such as Zonda’s 2024 Cost vs. Value Report , can provide context, but it can’t predict what a specific project will recoup in your community. Use local comparisons to frame the resale question, and evaluate the estimate against your goals, care preferences, and confirmed project details. When might a deck be a weaker resale investment? Pause if the proposed footprint would take up too much usable yard, feel out of scale with the house, or fail to serve a clear purpose. Reconsider timing if other necessary property repairs or priorities remain unaddressed. These factors may weaken the case for building primarily to sell, but they don’t automatically make a deck a poor choice if you expect to use and enjoy it. Before deciding, ask the contractor to explain how the proposed scope fits the property and which items are essential versus optional. A site-specific estimate can help you make that distinction and avoid committing to features that don’t support your goals. Discuss your deck project with Home Run Improvement Plan a Deck Project with a Louisville-Area Contractor A site-specific estimate can turn general ideas into a clear project plan. It should explain how the proposed design fits your home and yard, what work is included, which materials are being considered, and what questions still need answers. That clarity matters whether your priority is everyday use, appearance, or stronger buyer appeal. No estimate can guarantee resale results, but a defined scope helps you make an informed decision. What should you ask a deck contractor before hiring? Ask who will perform the work and request a written description of the project. The proposal should make it easier to understand the planned design, materials, scope, and how changes will be discussed and documented. If a detail is unclear, resolve it before work begins. What work is included, and what is outside the proposed scope? Who will perform the work, and how will you be updated if the plan changes? Which specific materials are proposed, and what care do they require? How will access, site conditions, and the home’s existing structure affect the design? What warranty terms apply to this project, and where are they documented? Confirm warranty coverage and project terms directly rather than relying on assumptions or a general warranty statement. A clear estimate should give you enough detail to compare the plan with your priorities and ask informed follow-up questions. What are practical next steps for homeowners near Louisville? Before arranging an estimate, gather photos of the area, rough measurements, notes on how you expect to use the deck, and a short list of questions. This gives the contractor useful context for discussing layout and scope. During the conversation, ask why the proposed design suits your property, how it will connect to the home, and which choices are essential versus optional. Review examples of completed projects to get a sense of workmanship, then use the decking services page to learn more about Home Run Improvement’s work. The company is locally owned in the Louisville area and provides free estimates. Homeowners in Louisville, Southern Indiana, Anchorage, Crestwood, Glenview, Hurstbourne, Indian Hills, Jeffersontown, Prospect, Clarksville, Bardstown, and Mt. Washington can ask about project details and availability for their location. As you compare options, request the proposed materials, scope, and warranty details in writing. For homeowners considering whether does a new deck add value to a home in KY, a clear plan is a practical next step. It lets you assess the design and workmanship against your goals before committing. Request a free deck estimate Make a Deck Decision That Fits Your Home So, does a new deck add value to a home in KY? It can improve buyer appeal and make outdoor space more useful, but resale value isn’t guaranteed. Start with a design that suits your home and yard, supports the way you’ll use it, and reflects clear choices about materials, maintenance, and workmanship. Before moving forward, compare similar nearby homes and discuss local market context with a real estate professional. Then review a site-specific estimate carefully. A clear scope helps you understand what’s included and how the proposed design aligns with your priorities, rather than relying on a promised return. Home Run Improvement is locally owned and operated in the Louisville area and provides professional decking services and free estimates. Confirm availability and project terms directly as you discuss your plans. Request a free deck estimate from Home Run Improvement With thoughtful planning and the right questions, you can make a confident choice that supports both your home and the way you want to enjoy it. Frequently Asked Questions Does a new deck add value to a home in Kentucky? A new deck may add value to a Kentucky home by improving usability and buyer appeal, but no resale increase is guaranteed. The outcome depends on the property’s layout and condition, the deck’s design and workmanship, and local market conditions. A practical, well-integrated deck may help a home show well; an oversized or poorly maintained one may not. Compare nearby homes before treating it as a financial investment. How much value does a new deck add to a house? There’s no universal dollar amount or guaranteed return for a new deck. The result depends on the home, the project, and local buyer interest. Review recent sales of comparable homes and ask a local real estate professional to help interpret them. Also weigh personal enjoyment separately from resale value: a deck may be worthwhile because you’ll use it, even if the sale price doesn’t reflect its full project cost. Does a deck increase home value more in Louisville, KY? There’s no basis to assume a deck earns a higher premium in Louisville than elsewhere. Compare homes in the specific neighborhood and price range, and consider home type, competing listings, and buyer expectations. Market conditions may differ between Louisville, Southern Indiana, Anchorage, Crestwood, Glenview, Hurstbourne, Indian Hills, Jeffersontown, Prospect, Clarksville, Bardstown, and Mt. Washington. A local real estate professional can help assess current comparable sales in your area. Is a wood or composite deck better for resale? Neither wood nor composite is automatically better for resale. Compare their appearance, care requirements, confirmed product details, and fit with the home and likely buyers. A homeowner who prefers a particular look or maintenance routine may make a different choice from someone prioritizing another feature. Ask contractors for documented information about the proposed materials and their care instructions, then compare that information with similar homes in your local market. Can a deck make a home harder to sell? It can be a concern for some buyers if a deck is visibly neglected, awkward to access, poorly suited to the home, or takes up too much usable yard. These factors don’t guarantee a slower sale, since buyer preferences and property conditions vary. Before building or listing, ask a local real estate professional for feedback on how the deck fits your home and how comparable properties present their outdoor spaces. What deck features do home buyers look for? Buyer preferences vary, so don’t assume one feature will appeal to everyone. Practical access, a useful layout, sound condition, and a design that fits the home are sensible factors to evaluate. Consider whether people can move comfortably between the house and deck, and whether the space serves a clear purpose. Review local listings and ask a real estate professional which outdoor features appear relevant to nearby buyers. Should I build a deck before selling my Kentucky home? Build before selling only after weighing the project’s purpose, scope, and fit against local market evidence. Compare nearby homes and recent sales, then discuss the project and timing with a local real estate professional. A new deck may improve presentation or buyer appeal, but it isn’t guaranteed to pay for itself or help a home sell faster. If you’ll enjoy using it and the project suits the property, that value may matter too.
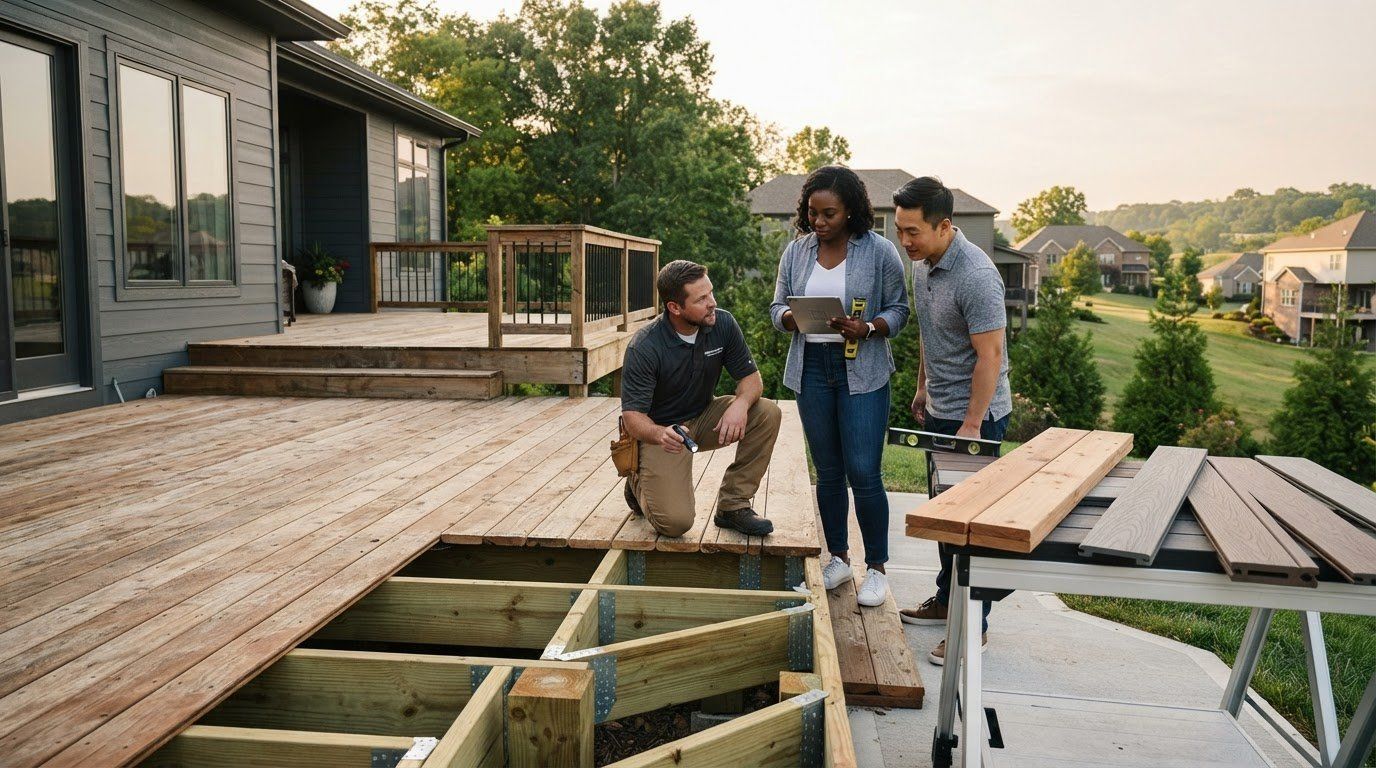
Transform your backyard with a custom deck from Home Run Improvement. Composite decking, premium railings, covered decks and more in Louisville, KY.
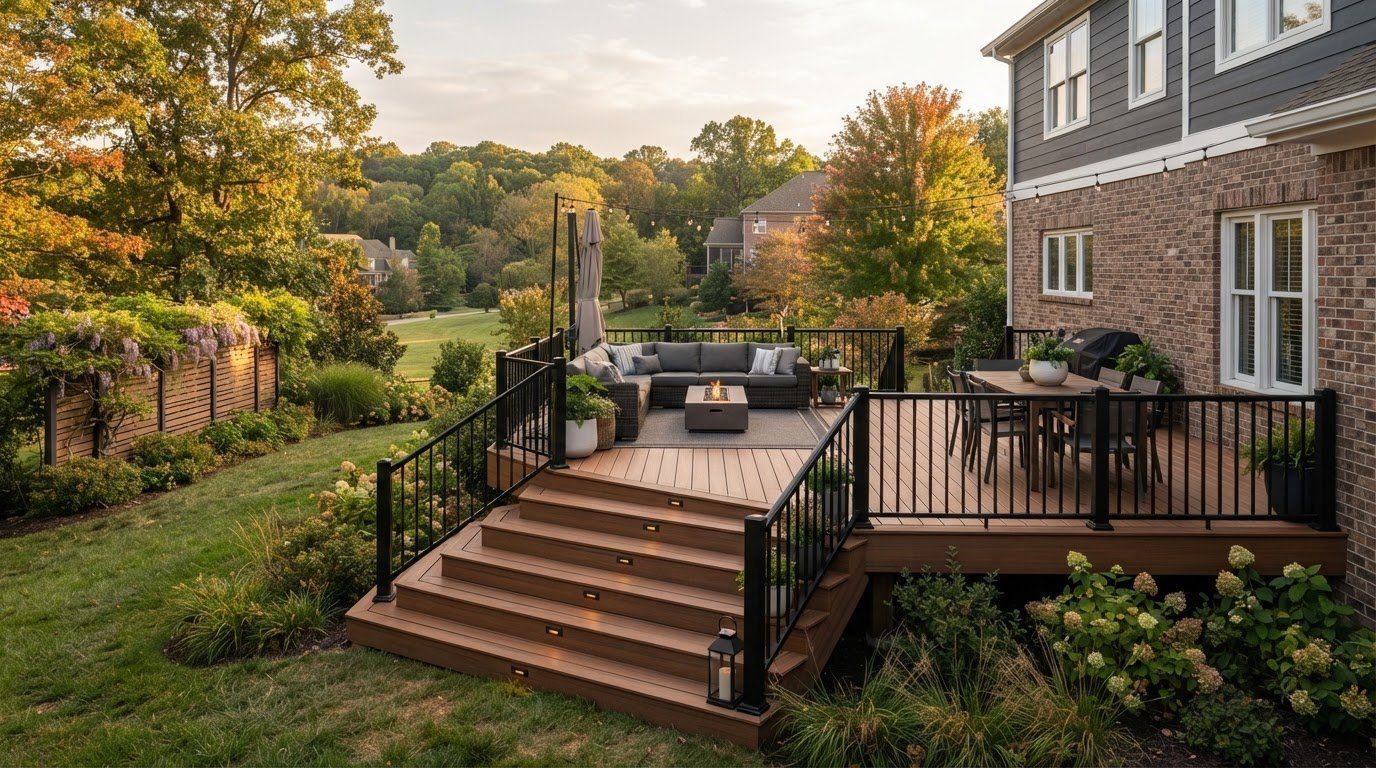
What if the best deck for your Louisville home isn’t the biggest one, but the one planned around how you’ll use it? Choosing among Custom Deck Builders Louisville KY | Home Run Improvement starts with more than comparing designs. You need a clear plan, sound construction, and a contractor you can trust with your home. It’s reasonable to have questions before committing: Which materials fit your home and upkeep preferences? What belongs in the project scope? And what permits or structural considerations apply? In Louisville , a building permit is required for a deck attached to a house, regardless of size. The Louisville Metro Construction Review resources can help you understand the local process. This guide will help you shape a deck plan around your outdoor routines, compare material and project-scope decisions, and know what to discuss with a local builder. You’ll also learn why clear communication about permits and structural requirements matters. Home Run Improvement is locally owned in the Louisville area and offers professional decking services, giving you a local option as you move from early ideas toward a considered estimate and build. Key Takeaways Start with how you’ll use the deck, then plan its layout around access, seating, movement, and the space available in your yard. Choose materials by weighing your property’s needs, preferred upkeep, appearance, and reliable product guidance. Compare builder proposals for what’s included, material details, site preparation, construction scope, exclusions, and how questions or changes will be handled. Project steps and local requirements depend on your property and design; check current guidance from Louisville Metro Construction Review. Learn what to discuss with Custom Deck Builders Louisville KY | Home Run Improvement, a locally owned Louisville-area contractor offering residential decking and free estimates. Why Plan a Custom Deck for Your Louisville Home? A useful deck should fit the home, the way your household spends time outdoors, and the space your property actually offers. A layout that works well for dining may feel awkward for relaxing or moving between the house and yard. Planning around your priorities helps coordinate access, seating, circulation, and the connection to the rest of your outdoor space. A custom deck project is a deck designed around a specific property and the ways its owners intend to use it. That means understanding the site and household needs before settling on features or a footprint. For a general overview of deck structures and common considerations, see Deck . If you’re comparing Custom Deck Builders Louisville KY | Home Run Improvement, begin with the needs your design must meet, not a preset list of add-ons. This video offers a visual introduction to deck construction: https://www.youtube.com/watch?v=PkvKO8GchyE Start with how you want to use the deck Decide what the deck needs to do in everyday life. Is the main purpose outdoor dining, a place to relax, room to entertain, or easier access to the yard? Consider household routines, who may visit, and how people will move between indoor and outdoor spaces. A dining area, for example, needs comfortable circulation around the table, while a quiet seating area may call for a more sheltered position. Write down your priorities before speaking with prospective builders. A short list keeps design conversations focused and gives you a practical way to compare ideas: Primary activities, such as dining, relaxing, or entertaining How many people the space should comfortably serve Where you need access between the house and yard Features you consider essential versus optional Account for the home and outdoor space The property should shape the plan. Door locations influence where people enter the deck; existing grade and available space can affect its layout and connection to the yard. Privacy may also matter, especially if neighboring homes or outdoor areas are close by. These details are why a standard footprint shouldn’t be assumed to suit every Louisville property. A site-specific assessment helps identify constraints and opportunities before design decisions become fixed. Bring those observations to a design conversation with a local professional. Home Run Improvement offers residential decking in the Louisville area; its Louisville decking services page provides a starting point for discussing your project. A clear understanding of how you’ll use the deck and what the site allows can make the next design and scope decisions more grounded. How to Shape a Custom Deck Design for Your Louisville Property A strong design brief turns household priorities into decisions a builder can assess: where the deck connects to the house, how people will move through it, and which features matter most. Separate preferences you can define now, such as a dining area or a clear route to the yard, from details that require an on-site assessment, including how the existing structure and grade affect the design. Match the layout to daily use and site conditions Deck size, transitions, stairs, and circulation work together. For example, a route from a frequently used door to the yard should remain clear even if the deck also needs room for seating. Note which access points and activities are priorities, then ask a builder to evaluate how the property can accommodate them. Framing, joist layout, and other structural details aren’t preferences to guess at; they require qualified professional judgment based on the specific project. Before finalizing plans, check applicable requirements with the authority having jurisdiction. Louisville Metro’s Construction Review resources are a useful place to confirm where to direct questions about projects in Louisville. Requirements may differ by location, so verify them for the property rather than relying on assumptions. Compare decking materials without assuming one choice fits everyone Compare material categories against the conditions of the site and the care you’re prepared to provide. Wood and composite decking, for example, can differ in appearance and upkeep expectations, but the specifics depend on the product. Review the manufacturer’s instructions for the material under consideration, including its installation guidance. Don’t assume that details for one product apply to another. Ask prospective builders to explain how the proposed material affects the project scope and construction details. Product-specific guidance should inform the plan, while structural decisions should be reviewed by a qualified professional. For general homeowner resources related to deck safety and the industry, the North American Deck and Railing Association (NADRA) is another source to consult. Turn priorities into a useful design brief Before discussing options with Custom Deck Builders Louisville KY | Home Run Improvement or another prospective builder, organize your ideas into a brief: Use: Identify the main activities and who will use the deck. Access: Note the doors, yard connections, and transitions that matter. Look and upkeep: Describe your appearance preferences and maintenance expectations. Questions: List site, material, structural, and local-requirement items that need professional review. This gives a builder a clearer starting point without treating an early wish list as a finished plan. If you’re ready to discuss how your priorities might translate to a project scope, you can contact Home Run Improvement about your deck project . How to Compare Custom Deck Builders in Louisville, KY A proposal is useful only when you can tell what the builder is agreeing to do. A low headline figure alone doesn’t establish equal scope, workmanship, or value. One estimate may include site preparation or specified materials that another leaves out. Before comparing totals, make sure you understand what each proposal covers and what could remain your responsibility. Compare proposals by scope, materials, site preparation, construction details, responsibilities, stated exclusions, communication, and applicable warranty terms. That checklist can help you spot meaningful differences and ask focused questions before choosing a contractor. Questions to ask before choosing a deck contractor Ask for examples of completed deck work relevant to your project, then clarify exactly what the proposal includes. Who will coordinate the site evaluation and design decisions? Who is your point of contact during construction, and how will questions or requested changes be documented and shared? Clear answers help you understand how the work will be managed, not just what the finished deck might look like. Request written explanations of the materials, site preparation, construction scope, and any exclusions. Ask which responsibilities belong to you and which belong to the contractor. If a warranty is mentioned, request its written terms and confirm that it applies to the proposed decking work. For homeowners considering Custom Deck Builders Louisville KY | Home Run Improvement, the same questions help create a fair, informed basis for comparing proposals. How to assess workmanship and documentation Review relevant project photos and customer feedback for clues about communication, coordination, and the overall client experience. Treat them as one source of information, not proof of structural quality or compliance. Home Run Improvement customer testimonials may help you understand reported customer experiences; confirm that any example you rely on relates to decking. Ask how structural details will be evaluated and who is responsible for confirming that the design and installation guidance suit the property and selected materials. Those decisions should be addressed by qualified professionals, not left vague in the proposal. For Louisville-area projects, confirm applicable permitting and inspection requirements with the authority having jurisdiction, and ask how the proposal accounts for any required reviews. Keep the comparison practical: if a proposal is unclear about a material, exclusion, or responsibility, ask for clarification in writing before moving forward. A careful review makes it easier to distinguish a complete, well-documented scope from one that only looks comparable at first glance. If you’d like to discuss a decking project with Home Run Improvement, you can contact the Louisville team . What to Expect During a Custom Deck Project in Louisville A well-managed deck project moves through clear stages, but the details aren’t identical for every home. The property, proposed design, selected materials, and applicable local requirements all affect the process. Before work begins, make sure you understand what has been assessed, what the agreed scope includes, and who will answer questions as decisions come up. As you work with Custom Deck Builders Louisville KY | Home Run Improvement or another prospective contractor, expect to move through a sequence like this: Discuss goals: Explain how you plan to use the deck and what matters most. Assess the site: Review access, grade, the home, and other conditions that may affect the design. Confirm the scope: Clarify proposed materials, site preparation, construction details, exclusions, and responsibilities. Verify requirements: Check permit and inspection questions with the authority having jurisdiction. Plan construction: Agree on communication and worksite coordination before the build proceeds. The order and exact steps may vary. A straightforward layout and a project with more complex site conditions may call for different planning and review. Site assessment, scope, and approvals A contractor should clarify relevant site conditions and proposed work before the project scope is finalized. Ask what assumptions the plan depends on and whether further review may affect the design. Don’t rely on a general answer about permits or inspections; requirements can depend on the property and jurisdiction. Confirm current guidance directly with Louisville Metro or the appropriate local authority for your address. For Louisville properties, the Louisville Metro Construction Review resources provide an official starting point for permit questions. If the property falls under a different jurisdiction, contact that authority instead. Verify applicable approvals and inspection steps before construction planning is treated as complete. Construction details and homeowner communication Ask who will review structural details, coordinate the worksite, and keep you informed if a question or proposed change arises. The selected product matters, too. Any product-specific spacing, fastening, or other installation requirements should be checked against the current instructions from that product’s manufacturer. Request the applicable documents for the material in your proposal, then ask how they inform the construction plan. Keep written records of the confirmed scope, selected materials, responsibilities, and decisions made during the project. That gives both you and the contractor a shared reference if questions arise and helps prevent assumptions from becoming surprises. Discuss your Louisville deck project with Home Run Improvement Choose Home Run Improvement for Custom Decking in Louisville Choosing a deck contractor means finding a local professional who can discuss your priorities, review the property, and explain the proposed scope clearly. Home Run Improvement is a locally owned Louisville-area contractor offering residential decking. Its Louisville decking service page is a starting point for learning about the service and beginning a project conversation. Home Run Improvement provides free estimates. An estimate is most useful when it reflects the actual property and a clearly described project, rather than assumptions about size, materials, or site conditions. Ask what the estimate covers and request clarification about materials, preparation, construction details, exclusions, and responsibilities. If warranty coverage matters to you, ask whether it applies to the proposed decking work and request the written terms before making a decision. What to bring to an initial deck conversation A little preparation can make an early discussion more productive. Bring photos of the house and outdoor area, a short list of how you hope to use the deck, and questions about layout or material preferences. Point out the doors people use, how you want to reach the yard, and any known site constraints. Be candid about what you know and what remains uncertain. These details help frame the conversation, but they don’t replace a review of the actual property. Recommendations depend on site conditions, the proposed design, selected materials, and the confirmed project scope. Treat an initial idea as a starting point, not a final construction plan. Take the next step with a Louisville deck builder Homeowners searching for Custom Deck Builders Louisville KY | Home Run Improvement can use the first conversation to discuss goals, site conditions, and what information is needed for a project-specific estimate. Bring your priorities, ask how the proposed scope will be clarified, and make sure you understand the estimate before deciding how to proceed. Request a free estimate for your Louisville deck project Move Forward with a Deck Plan That Fits Your Home A successful deck project starts with a clear idea of how you’ll use the space, then turns that idea into a design that accounts for your property, materials, construction details, and local requirements. Compare proposals by what they actually include, and ask questions until the scope and communication plan are clear. If you’re considering Custom Deck Builders Louisville KY | Home Run Improvement, Home Run Improvement is a locally owned Louisville-area contractor offering residential decking. Free estimates are available, giving you a chance to discuss your goals and the details of your project. Confirm the proposed scope and any project-specific terms before moving ahead. Bring your ideas, questions, and knowledge of the property to the conversation. A thoughtful plan can help you take the next step with greater clarity and confidence. Request a free estimate for your Louisville deck project Your yard can become a more useful extension of your home, one considered decision at a time. Frequently Asked Questions How do I choose a custom deck builder in Louisville, KY? Compare written proposals for scope, materials, site preparation, construction details, exclusions, and communication responsibilities. Ask for relevant deck examples, written warranty terms, and clarification about changes before choosing; a low estimate alone doesn’t establish equal value. Home Run Improvement is locally owned in Louisville and serves Louisville, Southern Indiana, Anchorage, Crestwood, Glenview, Hurstbourne, Indian Hills, Jeffersontown, Prospect, Clarksville, Bardstown, and Mt. Washington. What should I consider when planning a custom deck? Start with how you’ll use the deck, such as dining, relaxing, entertaining, or reaching the yard. Then consider the home’s doors, property layout, existing grade, privacy, and available space. Decide what matters most in appearance and upkeep, but leave structural details to qualified professionals after they assess the site. Your design, materials, and project scope should work together rather than being selected as unrelated features. Do I need a permit to build a deck in Louisville? Louisville requires a building permit for a deck attached to a house, regardless of size. A permit is also required for a freestanding deck over 200 square feet or with any portion more than 30 inches above ground. Requirements can vary outside Louisville Metro, so check with the authority for your property. See Louisville Metro Construction Review for current local guidance. How long does it take to build a custom deck? There isn’t one reliable timeline for every custom deck. The schedule can depend on the property, design complexity, selected materials, confirmed project scope, and applicable local requirements. Ask the contractor to explain the expected sequence, including site assessment, scope confirmation, any required approvals, and construction planning. Request updates about schedule changes, too. A project-specific estimate and clear communication are more useful than relying on a generic duration. Which decking material is best for a custom deck? The best material depends on the property, the appearance you prefer, and how much upkeep you’re prepared to handle. Compare material categories such as wood and composite based on those priorities, then review the current manufacturer instructions for the specific product under consideration. Installation requirements and care guidance can differ by product, so don’t assume one material’s instructions apply to another. Ask your builder to explain how the selected material affects the project scope. Does Home Run Improvement offer a warranty on deck projects? Home Run Improvement’s business information states that its craftsmanship is backed by a 10-year warranty, but the available information doesn’t confirm whether or how that warranty applies to decking. Before relying on it, ask the company for the written warranty terms and confirmation of coverage for your specific deck project. Clarify what workmanship or project elements are covered, along with any conditions or exclusions that apply. Can I choose a custom deck design for my Louisville home? Yes, you can discuss a design shaped around your home, yard, and intended use. Homeowners searching for Custom Deck Builders Louisville KY | Home Run Improvement should bring photos, access preferences, material questions, and a short list of priorities to the conversation. The final design depends on a review of the property, structural considerations, selected materials, and applicable local requirements. Home Run Improvement offers residential decking in the Louisville area.