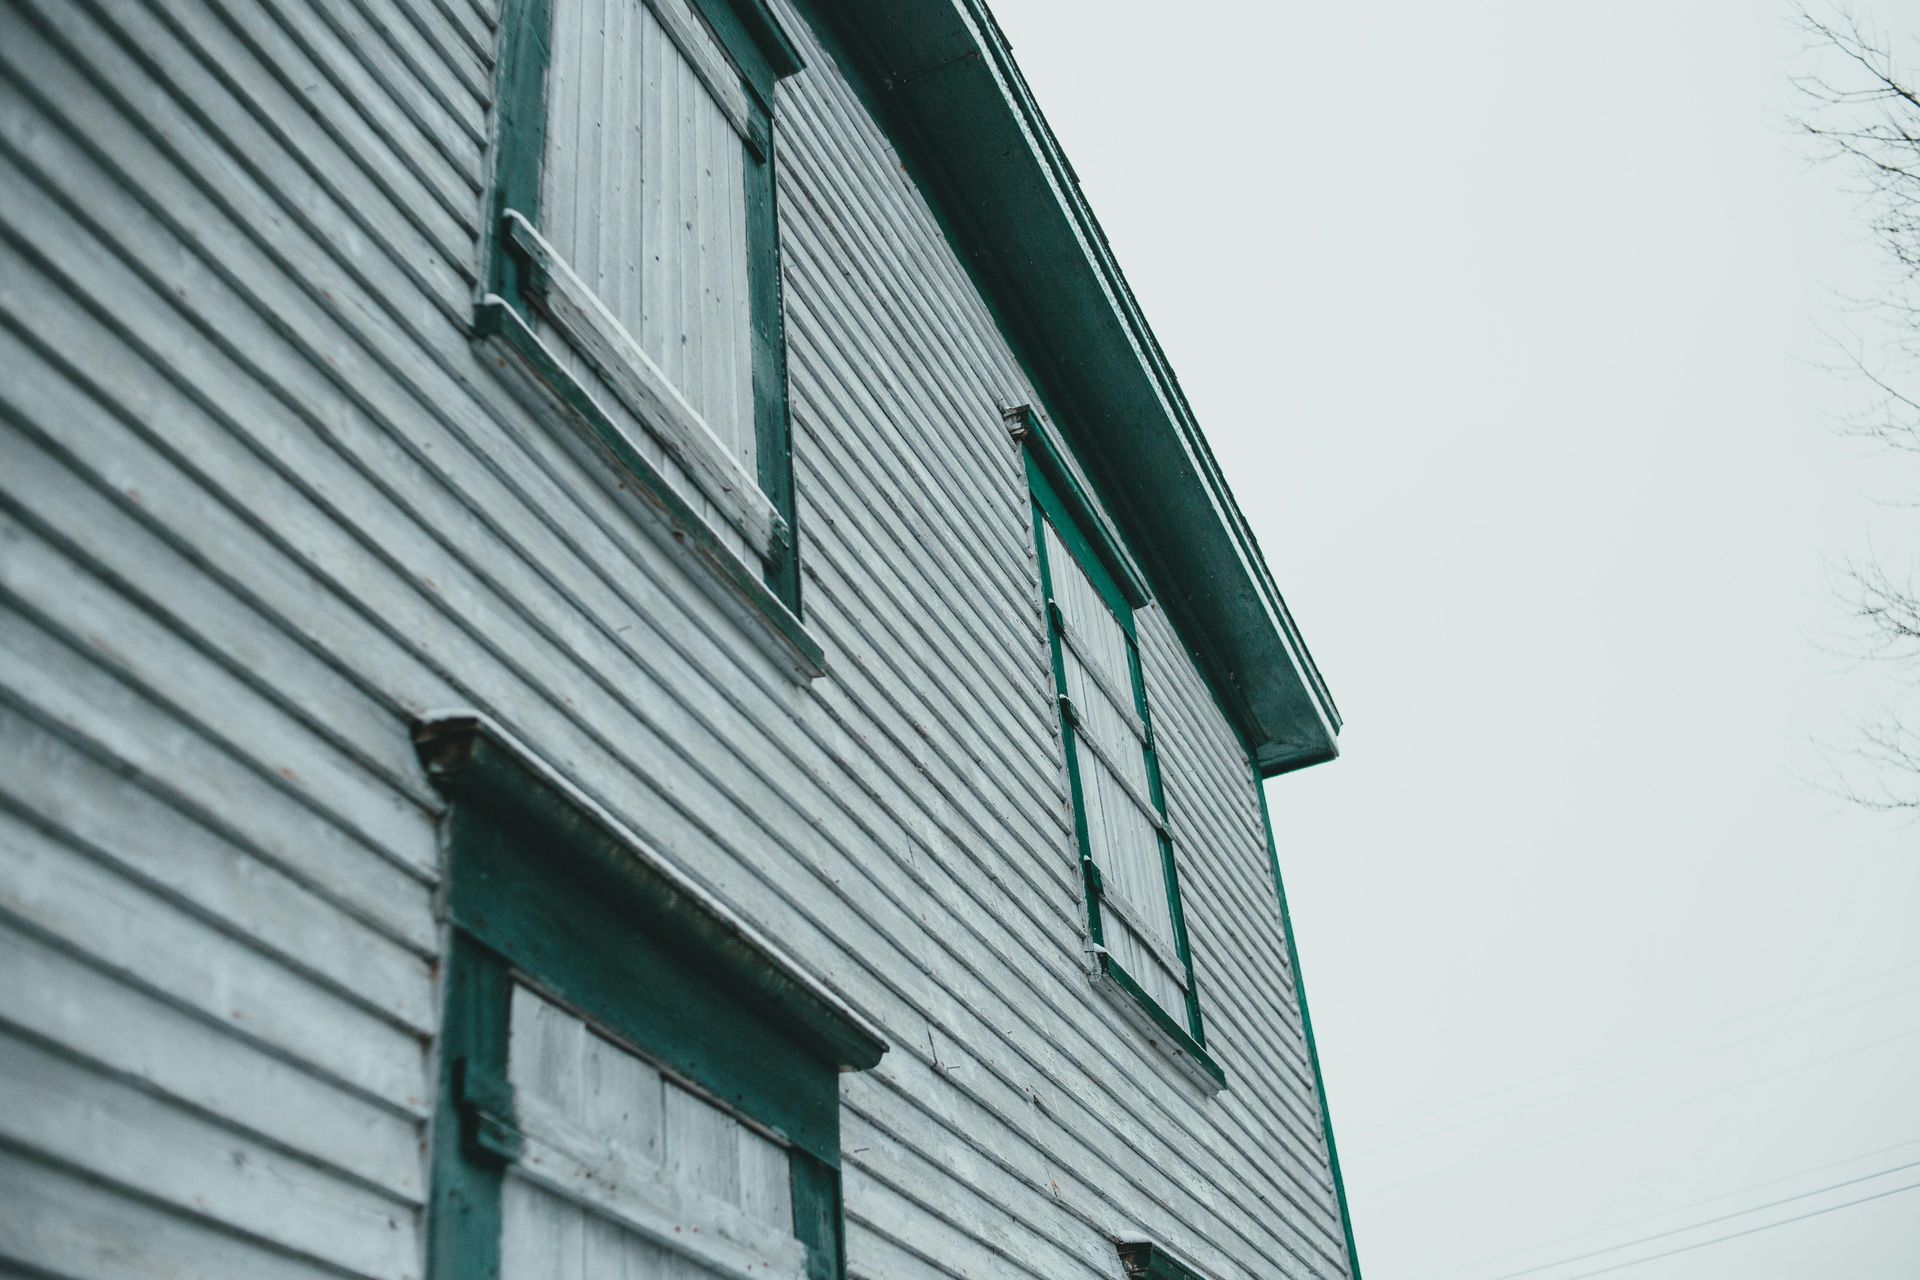
How to Clean Vinyl Siding (Without Damaging It)
Vinyl siding is one of the lowest-maintenance exterior options available — but "low maintenance" doesn't mean no maintenance. Over time, dirt, pollen, mold, and green algae accumulate on the surface and work their way into the texture of the panels. Left alone, that buildup doesn't just look bad. Organic growth like mold and algae holds moisture against the siding surface, which can eventually work its way behind panels and cause damage to the underlying structure.
The good news: cleaning vinyl siding is straightforward when you know what you're doing. The bad news: it's easy to cause damage by using the wrong pressure, the wrong cleaner, or the wrong technique — and you won't always see that damage right away.
This guide walks you through everything: the right tools, the right solutions, what to avoid, and how to handle specific problems like mold and green algae.
How Often to Clean Vinyl Siding
Before getting into technique, it helps to establish a baseline schedule.
| Condition | Recommended Frequency |
|---|---|
| Shaded areas, trees nearby | Once a year — spring preferred |
| Full sun, open yard | Every 1–2 years |
| Near wooded areas or standing water | Twice a year (spring + fall) |
| After any major storm | Spot clean as needed |
| Visible mold or algae present | Clean immediately regardless of schedule |
For most Louisville homes — which tend to have mature tree canopy and humid summers — once a year in spring is the right baseline. Spring removes pollen and winter grime, and it's before algae and mold growth accelerates in the summer heat.
If your siding faces north or is heavily shaded, those panels stay damp longer after rain and are significantly more prone to mold and algae buildup. They'll likely need more frequent attention than south-facing walls.
If your siding is more than a few years old and has never been cleaned, start with a thorough wash this spring and evaluate from there.
What You'll Need
For Hand Washing (Recommended for Most Situations)
- Soft-bristle long-handled brush or car wash brush
- Garden hose with spray nozzle
- Two buckets (one for cleaning solution, one for rinse water)
- Cleaning solution (options below)
- Rubber gloves
- Eye protection for cleaning solution application
For Pressure Washing
- Electric or gas pressure washer
- 25-degree or 40-degree nozzle (never 0-degree or 15-degree on vinyl)
- Downstream soap injector (optional)
For Mold and Algae Treatment
- Garden pump sprayer
- Bleach-based solution or commercial vinyl siding cleaner
- Soft brush for scrubbing
What Cleaner to Use on Vinyl Siding
For General Cleaning
The simplest effective solution is dish soap and water. A few tablespoons of dish soap in a gallon of warm water handles light-to-moderate dirt, pollen, and surface staining without any risk to the siding. It's cheap, it's available, and it doesn't require rinsing with the same urgency as bleach-based solutions.
Vinyl Siding Cleaning Solution Homemade
For tougher grime and light organic growth, this is the most effective DIY option:
General purpose vinyl cleaning solution:
- 1 gallon warm water
- ⅓ cup powdered laundry detergent (Tide or similar)
- ⅔ cup powdered household cleaner (Spic and Span)
This is the formula recommended by the Vinyl Siding Institute and it works well on stubborn dirt, oxidation, and light mold staining.
For heavier mold or algae:
- 1 gallon water
- 1 quart household bleach (5.25% sodium hypochlorite)
- ⅓ cup powdered laundry detergent
IMPORTANT: Never mix bleach with ammonia-based cleaners. Check your laundry detergent label — some contain ammonia. The combination creates toxic chloramine gas.
Commercial Cleaners
Products like Wet & Forget, Mold Armor, and 30 Seconds Outdoor Cleaner are effective and widely available. They're particularly good for mold and algae because many contain surfactants that prevent regrowth for months after treatment.
What NOT to use:
- Undiluted bleach directly on siding — can discolor and dry out the material
- Oil-based cleaners or solvents — damage vinyl permanently
- Abrasive scrubbers or steel wool — scratch the surface and create rough patches that hold dirt
- Cleaners containing organic solvents, nail polish remover, or furniture polish
How to Clean Vinyl Siding by Hand
Step 1: Wet the Surface
Before applying any cleaning solution, wet the siding panels with a garden hose. This prevents the cleaner from drying on the surface before you scrub, and it loosens surface dirt.
Work from the bottom of the wall upward when applying cleaner — this prevents dirty water from running down over already-cleaned sections and leaving streaks.
Step 2: Apply Cleaning Solution
Using a soft-bristle brush or sponge, apply your cleaning solution to a manageable section — roughly 5–6 feet wide. Don't try to do an entire wall at once; the solution needs to stay wet while you scrub.
For mold or algae sections, let the solution sit for 2–3 minutes before scrubbing. This breaks down the organic growth and makes it easier to remove without aggressive scrubbing.
Step 3: Scrub Gently
Use a soft-bristle brush with a long handle so you can reach upper panels without a ladder. Scrub in a horizontal motion following the direction of the panels — not against the grain. Circular or vertical scrubbing can force water and cleaning solution up behind the overlapping edges of panels.
Don't press hard. Vinyl siding is relatively soft and will scratch if you scrub aggressively, especially with stiff brushes.
Step 4: Rinse Thoroughly
Rinse from top to bottom with clean water. Make sure all cleaning solutions are fully removed — particularly bleach-based solutions, which can leave a chalky residue and affect the surface if left to dry.
Check the lap joints (where panels overlap) to make sure no cleaning solution is pooling behind them.
Step 5: Work in Sections and Repeat
Move to the next section and repeat. On a full house, this typically takes 2–4 hours depending on size and the level of buildup.
Can You Pressure Wash Vinyl Siding?
Yes — with significant caveats.
High-pressure washing done incorrectly is one of the most common causes of siding damage that homeowners don't immediately notice. Water forced behind panels under pressure can saturate the wall sheathing and insulation, leading to moisture damage and mold growth inside the wall over months.
Pressure Settings That Are Safe</h3>
- 1,200–1,500 PSI maximum for vinyl siding
- 25-degree or 40-degree nozzle — never use a 0-degree or 15-degree nozzle on vinyl
- Keep the nozzle at least 12–18 inches from the surface
The Critical Rule: Angle Matters More Than Pressure
Always spray at a slight downward angle or straight at the siding. Never spray upward or at the lap joints from below. Spraying upward drives water directly behind the panels — exactly where you don't want it.
PRO TIP: If you're renting a pressure washer or using one for the first time, start on an inconspicuous area — a side wall or the back of the house — and test your pressure and angle before working on visible elevations.
When Pressure Washing Makes Sense
- Large two-story homes where hand washing upper panels is impractical
- Very heavy buildup that hand washing isn't cutting through
- After major storms with mud or debris splatter
When Hand Washing Is Better
- Single-story homes — the time savings from pressure washing are minimal
- Older siding (15+ years) — aging vinyl becomes more brittle and is more susceptible to cracking
- Near windows, electrical outlets, or vents — pressure around penetrations risks water infiltration
How to Remove Mold from Vinyl Siding
Removing mold from vinyl siding requires a slightly different approach than general cleaning because you're dealing with a living organism, not just dirt.
Scrubbing alone isn't enough — you need to kill the mold, not just move it around. That requires a bleach-based solution.
Step-by-Step Mold Removal
1. Mix your solution: 1 quart bleach + 1 gallon water + 1 tablespoon dish soap (the soap helps the solution cling to the surface)
2. Apply with a pump sprayer: Saturate the affected area and let it sit for 5–10 minutes. The bleach needs dwell time to kill the mold spores — don't rush this step.
3. Scrub with a soft brush: After the dwell time, scrub gently. Most of the mold should lift easily. For stubborn patches, reapply solution and wait another 5 minutes before scrubbing again.
4. Rinse thoroughly: Rinse from top to bottom with clean water. Check that all bleach solution has been removed from lap joints.
5. Treat for regrowth prevention: Products like Wet & Forget or Mold Armor contain biocides that inhibit future mold growth. Applying one of these after your bleach treatment can extend the time before you need to repeat the process.
Protecting Nearby Plants
Bleach-based cleaning solutions will damage grass, shrubs, and garden beds if they run off onto them. Before you start:
- Wet the ground and plants around the house with plain water
- Lay plastic sheeting over flower beds directly below the work area
- Rinse plants again with clean water immediately after you finish
How to Remove Green Algae from Siding
Removing green algae from siding follows the same basic process as mold removal, with one important difference: algae is usually easier to remove but comes back faster on shaded surfaces.
Green algae (and the related black streaking sometimes called "roof algae runoff") thrives on north-facing walls and shaded surfaces because they retain moisture longer. The bleach-based solution described above works effectively on algae as well.
The regrowth prevention step is particularly important for algae. If your north or shaded walls are cleaned and then develop green tinting again within 6 months, the issue is environmental — those surfaces are staying wet long enough for algae to colonize. Options:
- Trim overhanging branches to increase sunlight and airflow
- Apply a preventive treatment (Wet & Forget is particularly effective for algae) after cleaning
- Check gutters above — overflowing gutters keep the wall below them perpetually damp, which accelerates algae growth dramatically. This is something our gutter services team often catches during assessments
Vinyl Siding Cleaning Tips: What Most Guides Skip
These are the details that make a real difference:
Clean on a cloudy day. Direct sun dries cleaning solution before you can scrub and rinse it properly. An overcast day gives you working time without the solution drying on contact.
Work from the bottom up, rinse from the top down. Applying cleaner from bottom to top prevents streaks from dirty runoff. Rinsing from top to bottom ensures clean water washes over already-cleaned sections.
Don't let bleach solution dry on the siding. If it dries before you rinse, it leaves a chalky residue that's difficult to remove and can affect the surface long-term.
Check caulking and sealant around windows and doors while you're cleaning. If the caulk is cracked or pulled away, water intrusion is likely during the next rain. Recaulking is a $15 fix that prevents significant water damage.
Inspect for damage while cleaning. You're already up close to every panel. Look for cracks, chips, warped sections, or panels that have pulled away from the trim. These are easier to address early than after water has gotten behind them.
Test any cleaner on an inconspicuous section first. Different vinyl formulations can react differently to aggressive cleaners. A 12-inch test patch on a side wall will tell you everything you need to know before committing to the full house.
The Damage You Can't See Right Away
This is worth dwelling on because it's the most common way well-intentioned cleaning goes wrong.
When water gets behind vinyl siding — through upward pressure washing, cleaning solution forced into lap joints, or aggressive scrubbing around penetrations — you won't see the damage immediately. The wall sheathing absorbs moisture slowly. The insulation gets wet and holds it. Mold starts growing inside the wall cavity.
By the time you notice soft spots, bubbling paint on interior walls, or musty smell inside the house, the repair is substantial.
This is the core argument for hand washing over pressure washing for most homes, and for being deliberate about angle and pressure when using a washer. A vinyl siding exterior that's cleaned carefully every year lasts 30–40 years. One that gets water forced behind it repeatedly can develop structural issues in 5–10 years.
If your siding is showing signs of moisture damage — buckling, warping, soft spots in the wall behind it — cleaning won't fix the underlying problem. That's a conversation about repair or replacement, and our siding professionals can assess what's actually happening before you invest time in cleaning something that needs more attention.
Quick Reference: Vinyl Siding Cleaning Do's and Don'ts
| ✅ Do | ❌ Don't |
|---|---|
| Use soft-bristle brushes | Use abrasive scrubbers or steel wool |
| Spray downward or straight at siding | Spray upward or at lap joints from below |
| Use diluted bleach for mold | Use undiluted bleach directly |
| Test cleaners on inconspicuous area first | Use oil-based solvents or organic solvents |
| Rinse thoroughly from top down | Let bleach solution dry on the surface |
| Work on cloudy days | Clean in direct sun |
| Keep pressure washer at 1,200–1,500 PSI | Use 0-degree or 15-degree nozzle |
| Wet nearby plants before and after | Let bleach runoff reach garden beds |
| Scrub horizontally following panel direction | Scrub vertically or in circles |

FAQ
What is the best way to clean vinyl siding without a pressure washer?
A soft-bristle long-handled brush, warm water, and a solution of laundry detergent and household cleaner covers the vast majority of cases. Apply from the bottom up, scrub gently in horizontal strokes following the panel direction, and rinse thoroughly from top to bottom. For mold or algae, add bleach to the solution and allow 5–10 minutes dwell time before scrubbing.
Can I use a Magic Eraser or abrasive pad on vinyl siding?
No. Abrasive pads scratch the surface of vinyl, creating a microscopic texture that holds dirt and organic growth more aggressively than the original smooth surface. Once scratched, those areas will need more frequent cleaning and are more prone to staining.
How do I know if mold is on the surface or behind the siding?
Surface mold and algae clean off with a bleach solution and light scrubbing. If discoloration returns within weeks regardless of cleaning, or if you notice soft spots in the wall, the problem may be behind the panels. At that point, a professional assessment is worth scheduling before the issue progresses.
Is bleach safe to use on all vinyl siding colors?
Diluted bleach (1 quart per gallon of water) is safe for most vinyl colors. Concentrated bleach can cause fading on darker colors. Always test on an inconspicuous section first, particularly with dark brown, forest green, or charcoal siding.
What's the difference between mold and mildew on siding?
Mold typically appears as dark green, black, or gray patches with a fuzzy texture. Mildew is usually gray or white and flatter. Both respond well to bleach-based cleaning solutions and both indicate moisture retention on the surface. The treatment approach is the same for both.
How long does vinyl siding last if properly maintained?
Quality vinyl siding typically lasts 30–40 years with reasonable maintenance. Regular cleaning, prompt repair of cracks or loose panels, and keeping gutters clear so water doesn't chronically run down the wall surface are the three things that most affect long-term longevity.
The Bottom Line
Cleaning vinyl siding is genuinely straightforward once you know the rules: use soft tools, dilute your cleaners properly, never spray water upward behind the panels, and give bleach-based solutions time to work before scrubbing.
The mistakes that cause damage are almost always about pressure and angle with the washer, or using cleaners that are too aggressive. Neither is necessary — gentle technique with the right solution handles everything from basic grime to established mold.
For most Louisville homes, a thorough spring cleaning once a year is sufficient. Shaded north walls, homes near wooded areas, or walls below overflowing gutters may need more frequent attention. Start with a solid cleaning this season, note which areas develop buildup fastest, and adjust your schedule from there.