Creating the Perfect Kitchen Island: Tips and Ideas

November 4, 2024

Creating the Perfect Kitchen Island: Tips and Ideas

The kitchen is the heart of the home, and one of the best ways to enhance it is by adding a kitchen island. At Home Run Improvement, we understand that a well-designed kitchen island can serve multiple purposes—from additional cooking space to a casual dining area. Here are some tips and ideas to help you create the perfect kitchen island for your home.


1. Determine the Purpose of Your Island

Before diving into design, consider how you intend to use your kitchen island. Will it serve as a prep area, a cooking space, a casual dining spot, or all of the above? Defining the primary function will guide your design choices, such as size, shape, and features.


2. Choose the Right Size and Shape

The size and shape of your island should complement your kitchen layout. For larger kitchens, a rectangular island with ample counter space is ideal. If space is limited, consider a smaller, round or square island that maximizes functionality without overwhelming the room. At Home Run Improvement, we can help you find the right dimensions that fit seamlessly into your kitchen.


3. Incorporate Storage Solutions

One of the main advantages of a kitchen island is the additional storage it offers. Consider incorporating cabinets or shelves to store cookware, utensils, or even cookbooks. You can also include open shelving for easy access to frequently used items. Our team can help design custom cabinetry that meets your storage needs while matching your kitchen’s aesthetic.


4. Add Seating for Socializing

If you envision your island as a gathering spot, consider adding seating. Bar stools or a built-in bench can provide a casual dining area for family and friends. Ensure that there’s enough space for comfortable seating without obstructing the workflow in your kitchen. We can help you select stylish seating options that enhance the overall design of your kitchen.


5. Incorporate Functional Features

To enhance the functionality of your kitchen island, consider adding features like a sink, cooktop, or even a small refrigerator. These elements can create a more efficient workspace, allowing you to multitask effortlessly while cooking or entertaining. At Home Run Improvement, we specialize in integrating these features seamlessly into your island design.


6. Choose the Right Materials and Finishes

Selecting the right materials and finishes is crucial for both aesthetics and durability. Choose countertop materials that withstand heat and moisture, such as quartz or granite. For cabinetry, consider finishes that complement your kitchen’s overall design. Our design team can guide you through the best options for your specific style and needs.


Creating the perfect kitchen island is an investment that can transform your cooking and entertaining experience. At Home Run Improvement, we are dedicated to helping you design and build a kitchen island that perfectly fits your lifestyle and enhances your home. Contact us today to discuss your kitchen remodeling project and start your journey toward a beautifully functional space!

By Pat McIntyre July 8, 2026
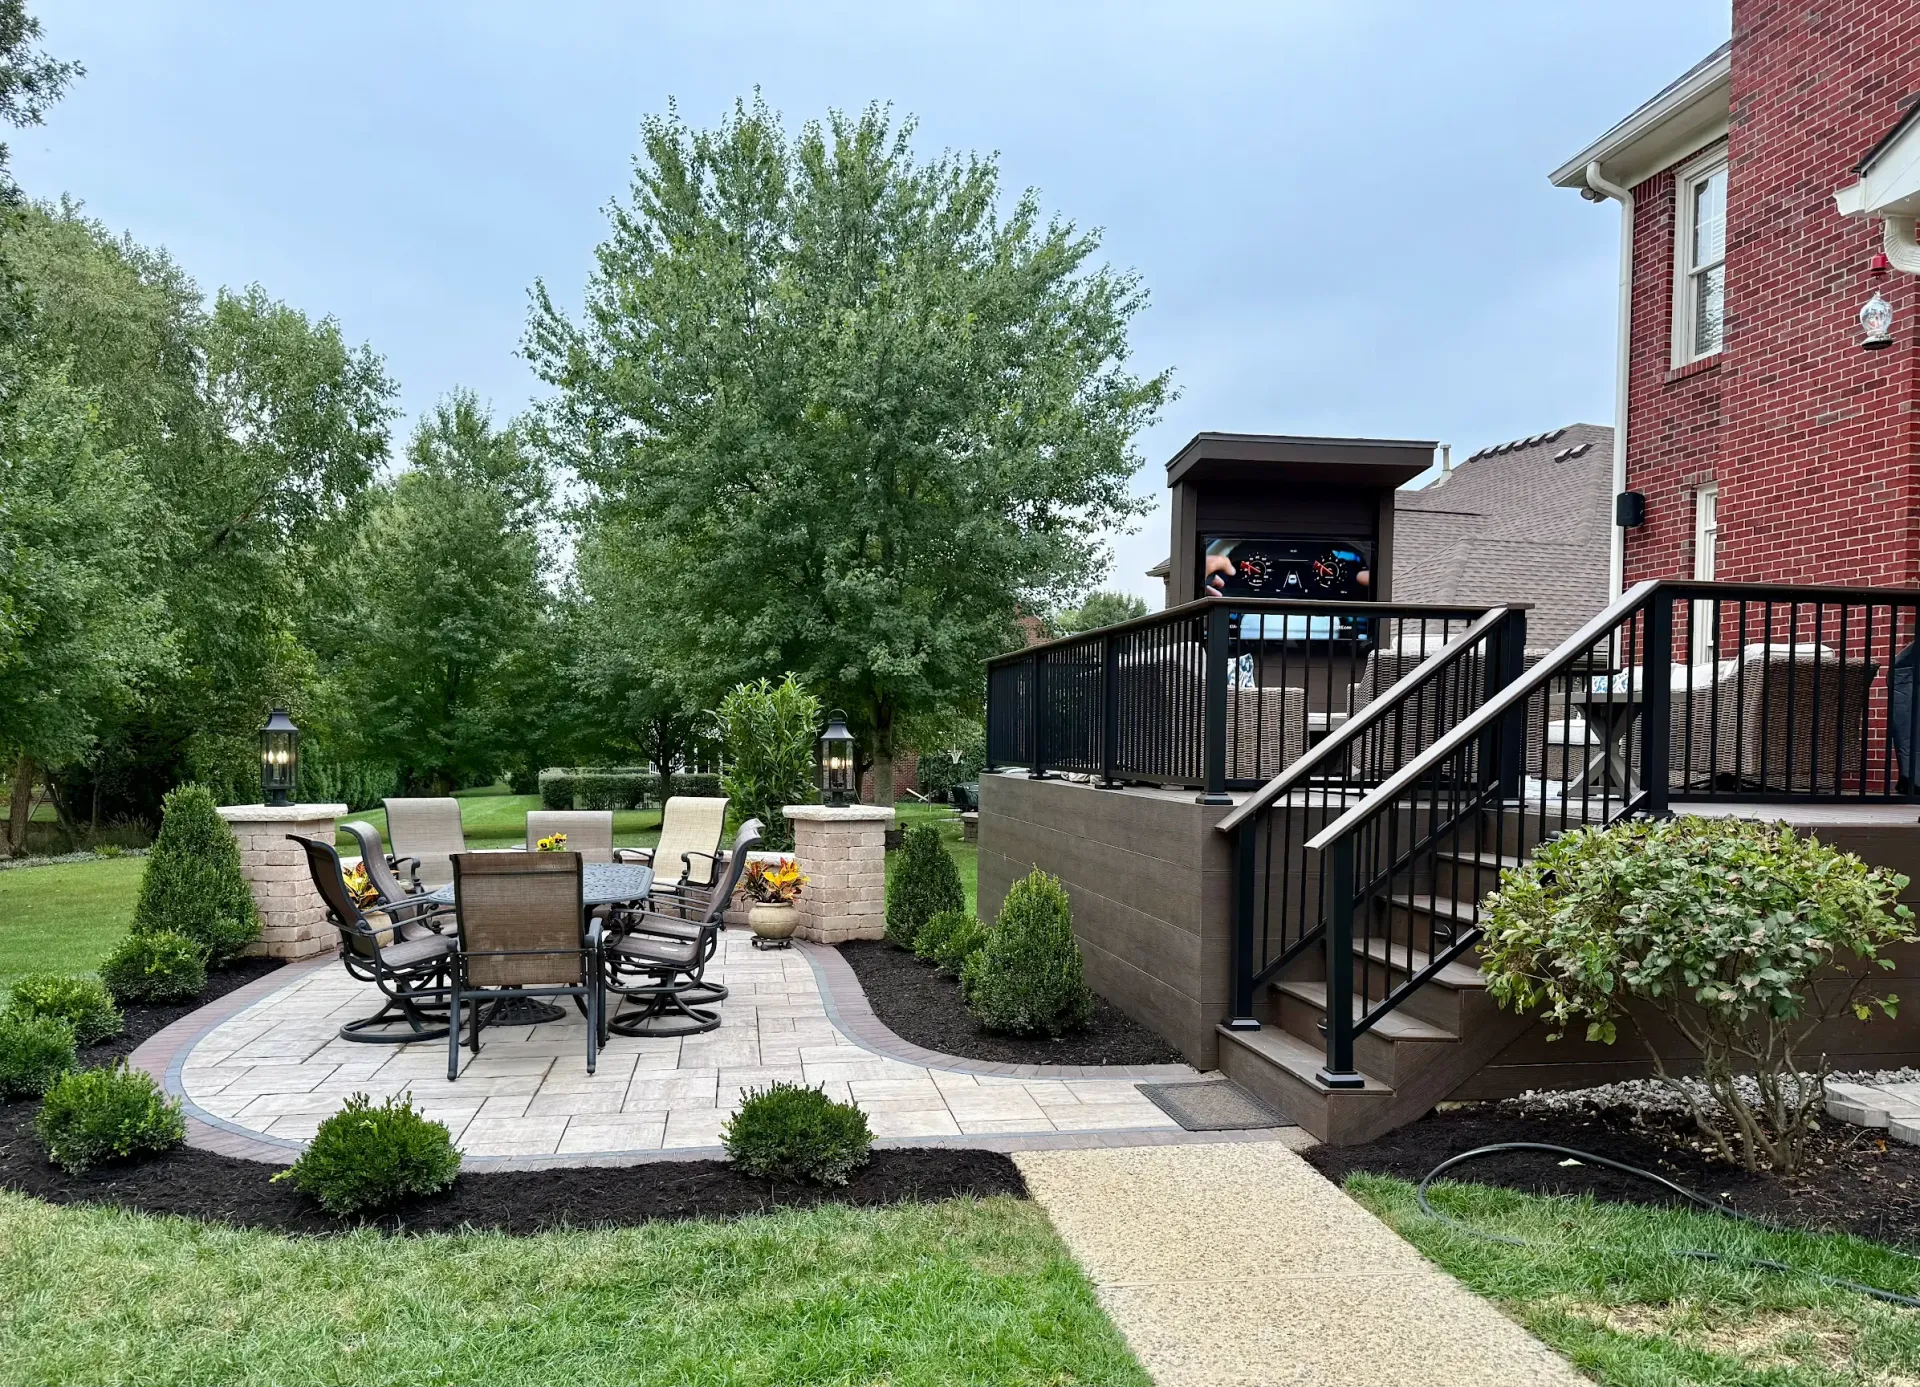
A well-built deck creates an inviting outdoor living space that adds value, functionality, and curb appeal to your home. If you're looking for a durable, low-maintenance alternative to traditional wood, TimberTech composite decking is an excellent choice. Designed to resist moisture, fading, staining, and splintering, TimberTech products provide the appearance of natural wood with significantly less upkeep. This guide walks through the major stages of building a TimberTech deck, from planning to the final inspection. Home Run is an official TimberTech Gold installer with specialized TimberTech training and access to enhanced warranties. Planning the Project Every successful deck begins with careful planning. Determine how the deck will be used, whether for entertaining, outdoor dining, or simply relaxing. Consider the size, shape, and location of the deck while taking into account access points from your home and the surrounding landscape. Select the TimberTech decking collection and color that best complements your home's exterior. At this stage, establish a realistic budget that includes materials, hardware, permits, and any specialized tools you may need. Before construction begins, verify local building codes and obtain any required permits. Preparing the Site Once the design is complete, prepare the building site by clearing vegetation, removing obstacles, and marking the deck layout with stakes and string lines. Confirm that the area is level and that drainage directs water away from the home's foundation. Accurate measurements during site preparation help ensure the framing and decking install smoothly later in the project. Building a Strong Foundation The strength of any deck depends on its foundation. Install concrete footings below the local frost line according to building code requirements. Secure support posts to the footings before installing beams and floor joists. Carefully check that all framing members are square, level, and properly spaced. Solid framing provides the support needed for the composite decking and helps prevent movement over time. Installing TimberTech Deck Boards With the framing complete, begin installing the TimberTech deck boards according to the manufacturer's recommendations. Many TimberTech products use hidden fastener systems that create a clean, fastener-free surface while maintaining consistent spacing between boards. Work methodically across the deck, checking alignment frequently. If your design includes a picture-frame border or decorative patterns, install those features as you progress. Take extra care when constructing stairs to ensure uniform rise, run, and secure fastening. Installing Railings Railings enhance both safety and appearance. Install railing posts securely to the deck framing before attaching the top and bottom rails. Complete the system by installing balusters and any gates required for stairways or access points. Choose railing styles and colors that complement your decking for a cohesive finished look. Adding the Finishing Touches Complete the project by installing fascia boards to conceal the framing and create a polished appearance. Many homeowners also choose to add deck lighting, post cap lights, stair lighting, or under-rail illumination to improve safety and extend the enjoyment of the deck into the evening. After construction is complete, clean the deck surface and remove any remaining debris. Final Inspection Before putting the deck into regular use, perform a thorough inspection. Verify that all fasteners are secure, railings are solid, stairs are stable, and the structure complies with applicable building codes. A careful final inspection helps ensure the deck is safe, attractive, and built to last. Maintaining Your TimberTech Deck One of the biggest advantages of TimberTech decking is its minimal maintenance requirements. Unlike traditional wood, composite decking does not require annual sanding, staining, or sealing. Routine maintenance typically includes: Sweeping away leaves and debris. Washing the deck periodically with mild soap and water. Cleaning spills promptly to prevent staining. Inspecting railings and fasteners during seasonal maintenance. With proper care, a TimberTech deck can maintain its appearance for many years while requiring significantly less maintenance than a wood deck.  Conclusion Building a TimberTech deck is an investment that enhances both your home and your outdoor lifestyle. By carefully planning the project, constructing a solid foundation, following proper installation techniques, and performing regular maintenance, you can create an outdoor space that is beautiful, durable, and enjoyable for years to come. Whether you're building the deck yourself or hiring a professional contractor, choosing quality materials and following best practices will help ensure a successful project and lasting results. Not sure how to proceed? Call to schedule a free Deck assessment with our team today.
By Kate Waggoner April 23, 2026
How often to clean gutters depends on your trees, climate, and gutter type. Louisville homeowners guide — schedules, signs, and when to call a pro.
By Kate Waggoner April 23, 2026
Metal roofing has gone from a niche product to one of the most talked-about options in residential roofing over the last decade. You've probably seen it on newer builds, heard it mentioned by a neighbor, or come across it while researching a roof replacement. And then you ran into the price tag. That sticker shock is usually where the research stops — or where homeowners start looking for reasons to justify it. This guide doesn't do either. It gives you the honest metal roofing pros and cons and a clear framework for deciding whether it makes sense for your specific home in Louisville. What Is Metal Roofing? Before getting into pros and cons, it helps to understand that "metal roofing" covers several different products that perform and cost very differently. The two most relevant for residential homes in Louisville: Standing seam metal roofing — panels run vertically from ridge to eave with raised seams that interlock. No exposed fasteners. This is the premium option you see on high-end custom homes. It's what most people picture when they hear "metal roof." Metal shingles / stone-coated steel — metal panels shaped and coated to look like traditional shingles or tiles. Lower profile than standing seam, easier to retrofit, and less expensive. There's also corrugated metal — the classic ribbed panels more common on agricultural buildings and outbuildings. You'll occasionally see it on residential homes for a specific aesthetic, but it's not what most Louisville homeowners are evaluating. Standing Seam vs. Corrugated Metal Roof Since both come up in residential conversations, here's a direct comparison: